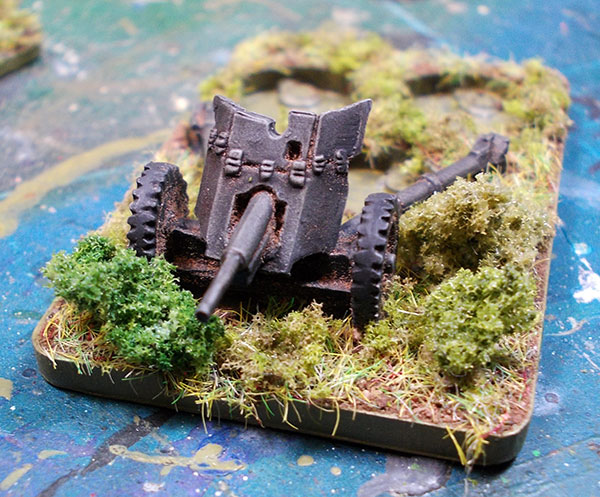
Once the dirt layer is thoroughly dry, the greenery goes on.
I start with a layer of strand grass flock, applied in blotches so that some of the underlying dirt shows through.
Next is some bushy stuff. This is Woodland Scenics Coarse Turf.
Again, it's applied in small blotches. I've found that I need to squash it down into the glue spots and leave it until it's absolutely set before brushing away the excess. If the glue is too thin, and/or not yet cured, then the springy foam rubber that it's made from just falls away.
The gun base at the bottom of the picture hasn't yet had all the excess cleared away.
This is as far as I'll go with the infantry base, to the left.
Almost last, on the gun bases, I glued some small bits of Woodland Scenics Clump Foliage.
I want some larger bushes around the gun, but I don't want so much that it will obscure the whole thing. Unlike the crew, who would probably be much happier completely out of sight.
In this close-up, you can see some of the MDF dirt nestling in the nooks and crannies of the gun. I could wash it out, but when you're not looking at it from 10cm away it actually adds to the weathering of the gun, so I'll probably leave it.
And here's one of the guns, complete with some extemporized crew.
These are just some figures I already had painted and based, but as you see, any old figures blend quite well into the sabot base, and are held there reasonably firmly by the magnets.
Once all the glue is dry, I'll give it a couple of squirts with matte varnish, which will help all the various types of flock stay where they are. And then the base will be done.
Part One
Part Two


No comments:
Post a Comment